
Scamp is starting to look like a boat! Today we’ve got news about a big step forward and a small step back.
The bulkhead is the keystone that locks the entire puzzle of hull, deck, interior and sail rig together. It’s the last major piece of structure we have to build and it is shaped and ready for primer/ final sanding today. Previously we mentioned how we couldn’t build the bulkhead until all the other components are designed and built – these pictures illustrate why. The lower edge of the bulkhead needs to contact the hull bottom. A few inches above that is a structural ledge that supports the front of the cockpit floor. Then the perimeter of the bulkhead must be a constant 1/8’ – ¼” from the hull sides and deck underside to furnish a flange for bonding all the components together. Lastly, but not to be taken lightly is the mast step ‘tube’ that supports the rig and provides the correct mast angle. Getting this done is a big step forward.
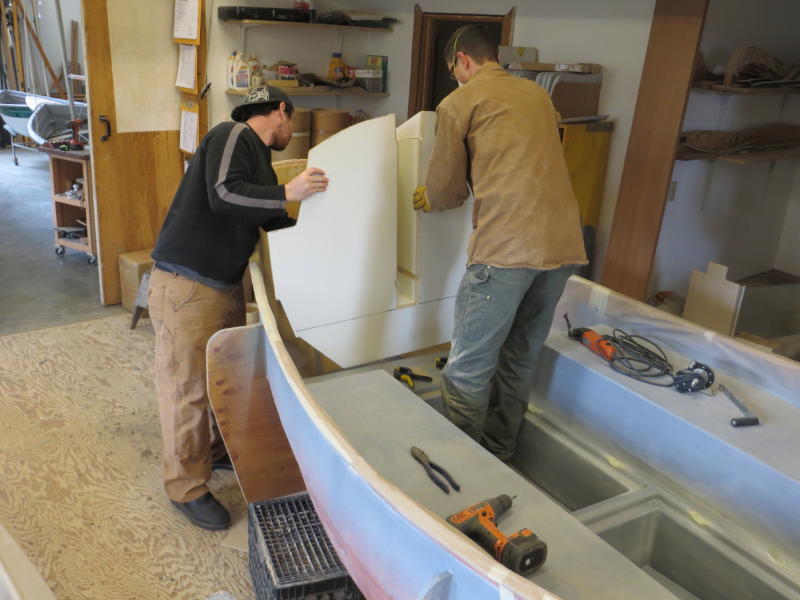
Placing the bulkhead
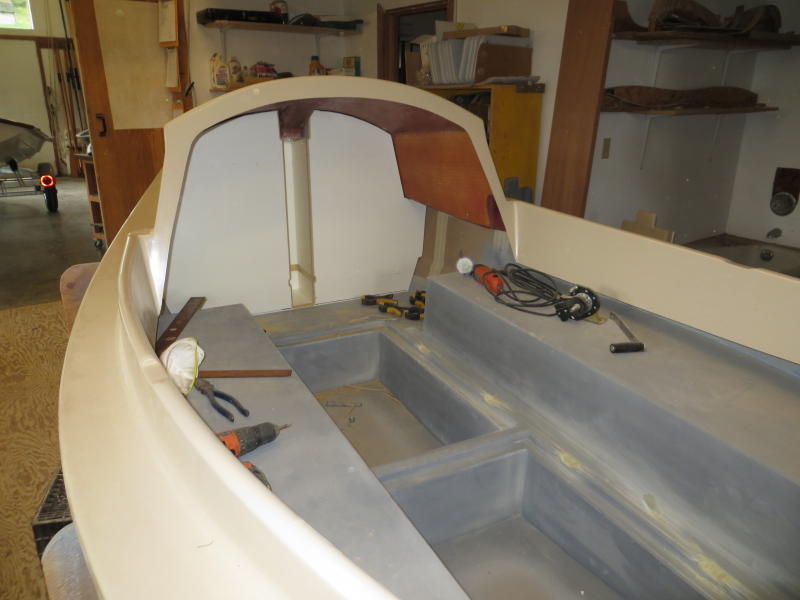
Bulkhead in place
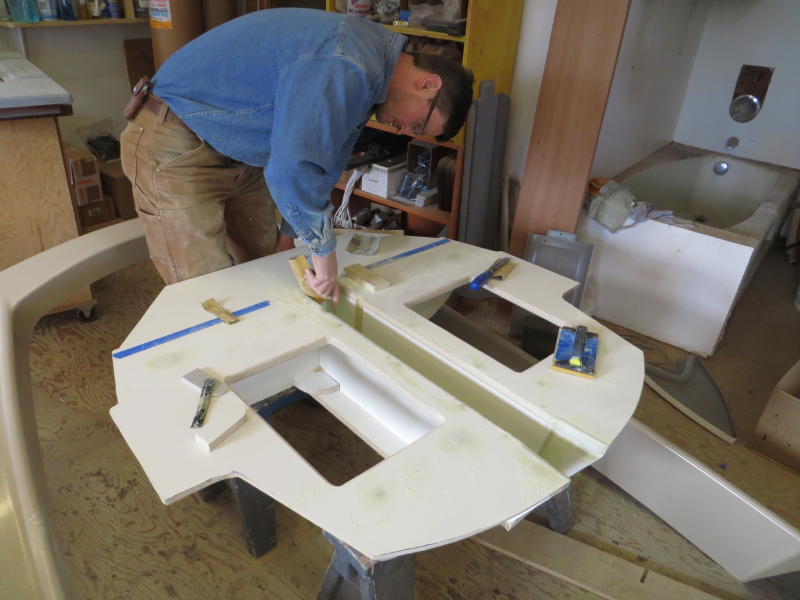
Working on the bulkhead

Putting it all together
The step backward? Last weekend Jan and I went on a serendipitous and spontaneous day trip to Port Townsend, one of our favorite places to walk the town waterfront. While Janet was shopping, I wandered to the marina at the tip of town and spotted Josh’s Scamp sitting forlornly at the dock rigged and ready to sail. That quick walk around town also exposed that Howard Rice was giving his acclaimed Small Craft tutorial at the boat Center so I dropped in for a Cameo appearance. After shaking hands and getting in a few plugs for our fiberglass Scamp, I zipped down to the marina and stole Josh’s Scamp for a quick sail along the Port Townsend waterfront. That short sail showed Scamp’s quickness as it nonchalantly passed a couple of larger sailboats. Returning to the marina, Scamps’ light air maneuverability allowed Dave to make a sail – in docking involving narrow channels, a 90 degree turn and culminating with a 180 degree pirouette landing softly alongside the pre-positioned dock bumpers. Applause from bystanders was rewarded with a tip ‘o Dave’s hat. With a boat like this, anyone can look like an expert! ;<)
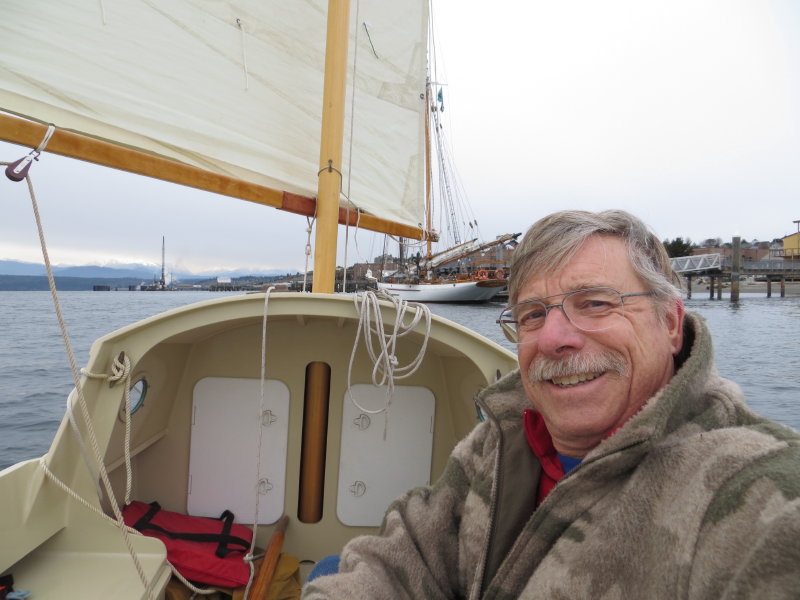
Looks like fun, huh?
But during that sail Dave became aware that the raised hatch tops on the flat seat tops are, well… a pain in the butt. Wouldn’t it be nice to have flush hatches on the seat tops? We can do that! We’ll be using fairly large Armstrong 100% waterproof hatches with bases about 3/8” thick. You can see in the pictures how we are creating recesses the same depth as the hatch top with limber drains so the recess wont collect water. The step backward means losing about a week refinishing the already completed flat seat tops. But we think this change will be a highly appreciated after a couple of hours of sailing time.
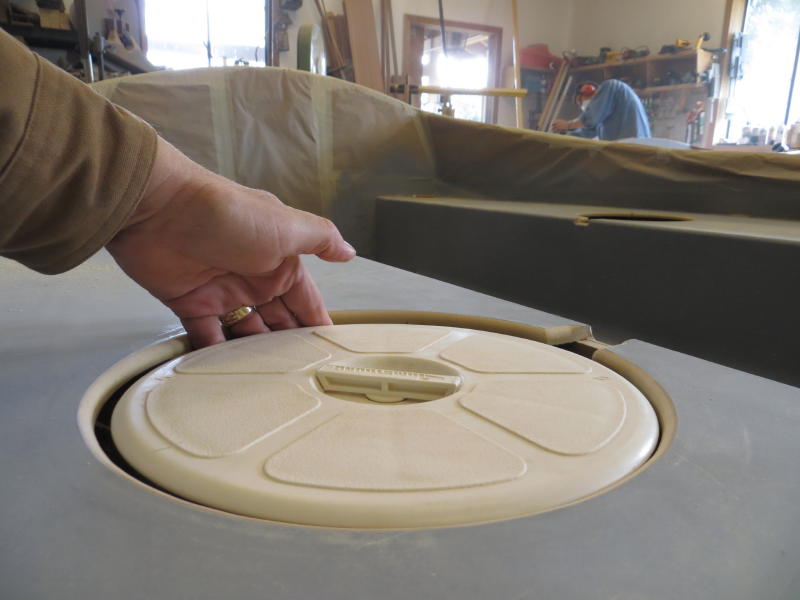
A newly recessed seat hatch.
Next week begins the lamination of the molds for the interior and bulkhead. Meanwhile, progress continues on the centerboard mold because we need the first finished centerboard in hand to design and construct the centerboard trunk. More head scratchin’ and napkin doodlin’ to figure out how to fit the centerboard trunk under the starboard seat. The nice big hatch over the c’brd will make access reasonable for servicing the pivot pin and lift line. Now that the big pieces are getting under control we have to figure out the many little pieces! Rudder cheek plates… Upper and lower mast retainers… various backing plates… centerboard pivot pins…centerboard lifting tackle…
Cheers,
Dave and Crew
O.K., we know some of you will be asking why there’s a bathtub in the background of photo #3 in the first set. I could tell you, but it’s more fun to ask your thoughts about why we have a tub in a boatshop. Lets’ hear your opinion! Answers in the next update.
Looking good! When will you make final decisions on mast, spars, sail, etc.?